
3.1 Nest monitoring
For surface and tree nesters, refer to Section 2.2.7 (Monitoring tropical seabirds using drones) as this offers the least invasive and potentially most accurate monitoring method. Although ground truthing is required in every case to ensure accurate identification of species.
Burrow nesters
For seabird species that nest in burrows (e.g. storm-petrels, petrels, shearwaters), monitoring presents a number of challenges. Burrow entrances can be very narrow and small or deep and convoluted. Burrows can be arrayed in very high density (making it difficult to safely access individual burrows without collapsing others) or very low density (making them very hard to even find). Burrows of some species can be found on very steep slopes or within cliff walls, making access difficult and dangerous. Burrow monitoring takes considerable time. Where there are dense large colonies, more than 50% of burrows in a colony may not be used for breeding in any one season, but still will need to be checked to look for signs of breeding. Lastly, burrows can often be fragile, increasing the risk that monitoring work could cause damage to the burrow itself. Because it may not be possible to easily access the burrow chamber, understanding what is happening inside a burrow during the breeding season can also be extremely difficult. In this section we consider the finer points of burrow monitoring.
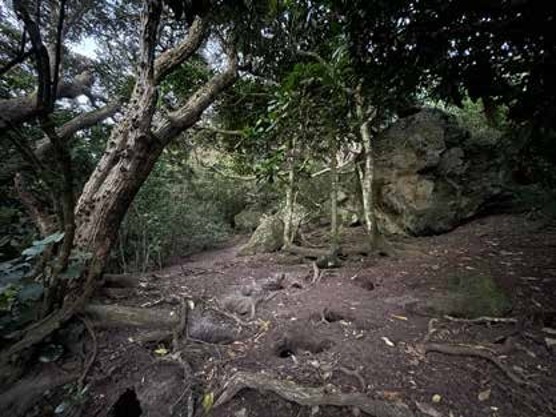
Figure 99. High density burrows, Rako/Buller’s Shearwater, Tawhiti Rahi, Aotearoa New Zealand. Photo: Edin Whitehead.
Method
After locating burrows, it is important to individually mark them to allow you to track their activity over time. Burrows can be marked in several ways. Attaching metal or plastic tags with unique numbers or combinations of numbers and colours is a good and unobtrusive marking technique. Burrows can also be marked with PVC poles and night reflectors placed near the burrow entrance, making it easier to locate them from afar. Alternatively, in rocky areas numbers can be spray painted on rocks next to the burrow itself. Care needs to be taken in marking burrows – depending on the prevalence of seabird predators in the area and the types of predators, obvious markings can increase predation risk (particularly if those predators are avian predators that use visual cues (like corvids or rails)). Furthermore, repeated monitoring can increase predation risk through the creation of trails and human scent, both of which can allow mammalian predators to cue directly in to the burrow itself. For this reason, it is not recommended to do regular burrow monitoring in areas where predators are prevalent unless some form of predator control is in place.
The number of visits to a burrow is an important consideration for burrow monitoring. How many times you visit a site may depend on a number of factors, including availability of staff, funding, ease of access, cost of access (e.g. by boat or helicopter vs by foot), data collection needs etc. For assessing reproductive success (see Section 3.6), you will need to monitor each burrow enough times to assess whether breeding was initiated, and a chick fledged. This requires a firm understanding of the phenology of the species, so that you can check the burrow at key times (arrival, incubation, chick rearing, fledging). The more visits you do, the more accurate your reproductive success calculations will be, but this will be tempered by the previous conditions listed and potential disturbance to the birds.
Assessing burrow contents presents the main challenge in burrow monitoring. In many cases, you may not be able to easily assess the burrow chamber by simply looking into the entrance and seeing the back of the burrow. In these scenarios, handheld cameras are a useful tool. By simply reaching as far into the burrow as you can and taking photographs with the handheld, this can increase your capabilities of assessing burrow contents. However be careful when you do this – you have no idea what is inside the burrow, and even if it is not an angry biting bird there could be something more dangerous like a rat, spider, centipede or snake (depending on where you are doing your research).
Examples of handheld cameras used for this purpose include Olympus Tough Stylus TG series, Panasonic Lumix DMC-TS series and the Fujifilm Finepix XP series. Taking this one step further, there are multiple burrow scope options. These include endoscopes specifically designed for the purpose or off-theshelf store-bought models (such as those used by plumbers to access the interior of drain pipes!). Burrow scopes can allow you to get much deeper into a burrow or allow you to access narrow burrows where you can’t get your arm into. They can however be tricky and time consuming to use and in wet environments the end of the scope can quickly get muddy requiring repeated cleanings during each check attempt.
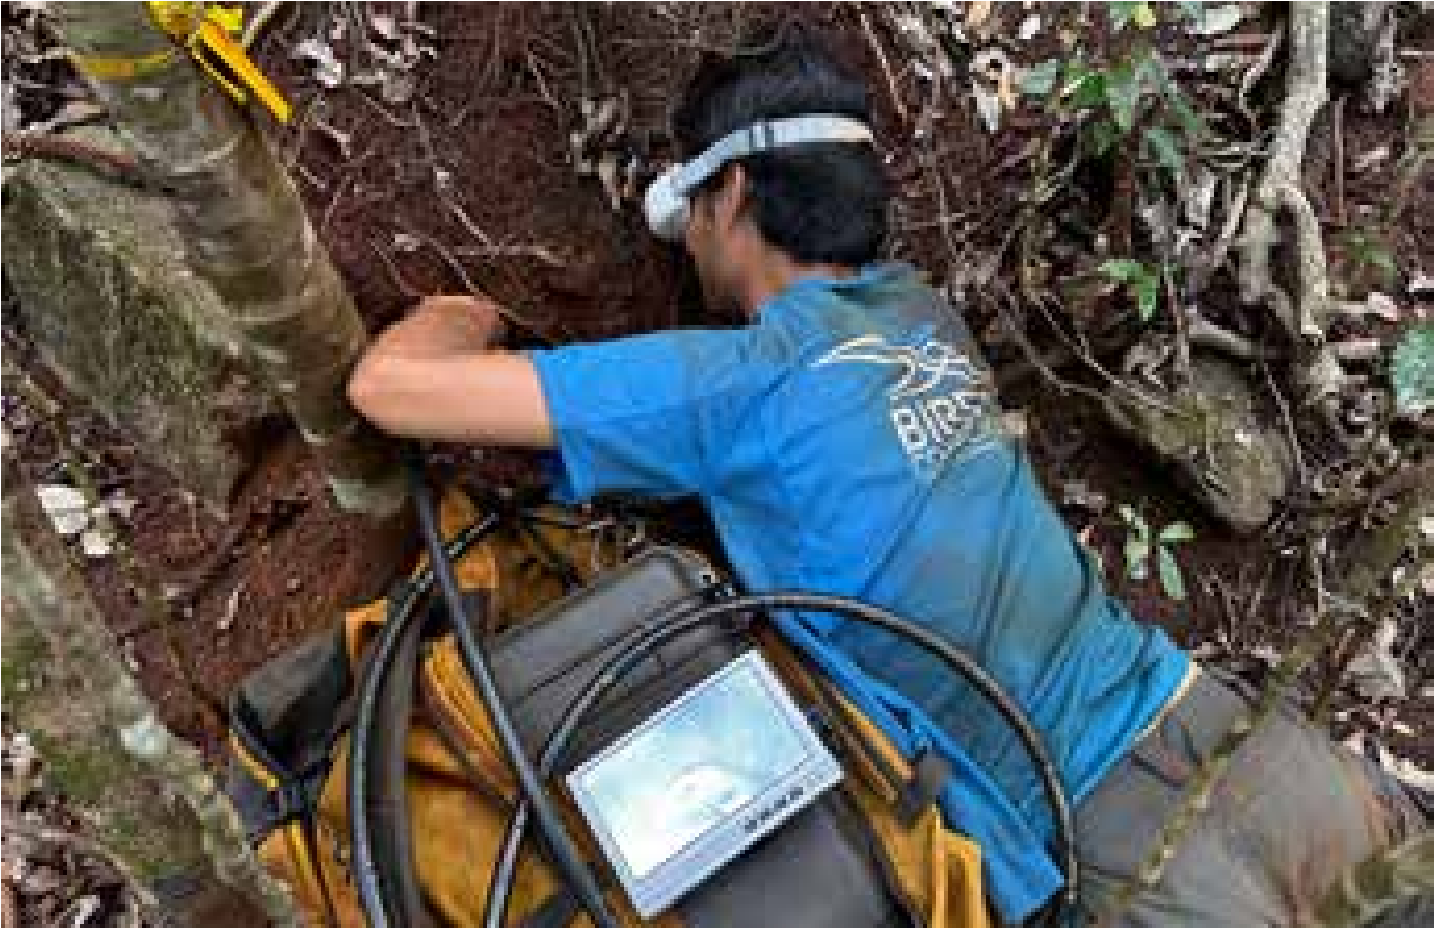
Figure 100. Using a burrowscope to check for Tahiti Petrel occupancy, Nemou Island, New Caledonia. Photo: Mathieu Mathivet.
During each burrow check, data should be collected to record any signs of activity within or around the nest. This includes the presence of adult(s), egg, or chick for burrows where it is possible to see the chamber. If it is not possible to access the burrow at all, then you should carefully assess the burrow entrance for any sign that there is activity within the burrow. Key seabird signs to look for includes guano, footprints, digging, trampling, feathers, eggshell, scent, fresh vegetation in the burrow chamber and down during fledging. Cobwebs inside the burrow are a sign of limited or no activity. Collecting data on seabird signs throughout the season will help you assess the overall levels of breeding activity and success. Many people place a small row of 3-5 vertical thin sticks in front of the burrow entrance to detect movements in and out of the burrow. These sticks need to be pushed in sufficiently, so they don’t blow over in wind but are easily knocked down by a bird walking through the entrance. Brush them with your hand to test. Toothpicks can be useful in areas lacking trees and shrubs. Remember other animals can knock down a stick fence (terrestrial birds, reptiles, predators etc) but a burrow with sticks intact all season is clearly inactive.
At all times when checking seabird burrows, care should be taken to minimise disturbance to the birds inside, surrounding vegetation and burrow structure. Extra care should be taken with burrows containing new pairs, or during incubation, when birds may be more prone to abandonment and nest failure. Any signs of depredation (such as a dead adult or chick in front of/ inside a burrow, chewed feathers or egg, etc.) or the presence of scat/droppings/prints that indicate predator activity in the vicinity of the nest, should also be recorded as this can be beneficial for guiding management actions.
At the end of the season, a final status should be assigned to each burrow. The following categories can be used:
- Active breeding confirmed: Breeding was confirmed as having been initiated during the season through the presence of
(i) an adult during the day during the incubation period, apparently incubating (sitting tightly in the nest bowl),
(ii) an egg,
(iii) down or
(iv) chick.
For this category, the outcome is noted as either:
- Success: Nest successfully fledged a chick. As you are unlikely to witness the fledging event unless you are using a camera, a successful fledging can be considered in the following scenario: A chick was confirmed in the burrow up until typical fledging month and on the following check the presence of small amounts of down outside the nest site indicate that the chick was active outside the burrow and subsequently fledged. No signs of depredation or predator presence were noted. Burrows with cameras provide information on exact fledging date and time.
- Failure: Nest did not fledge a chick. The failure stage (egg or chick) and cause of failure (depredation of chick or egg, abandonment, depredation of breeding adult, etc.) should be recorded where known. Burrows with cameras can provide information on depredation events and predator visitations pertinent to nest failure.
- Outcome unknown: Breeding was confirmed at the site; however, no subsequent visits were made, no visits were made late enough in the season to confirm fledging, or signs were inconclusive.
- Active, unknown: The presence of an adult bird, or signs of an adult bird (guano, feathers, trampling, etc.) indicate that a bird was present during the breeding season, but it was not possible to confirm whether breeding occurred but failed or breeding was never initiated. Either way, no chick fledged. Situations like this arise in instances where (i) it was not possible to examine the back of the nesting chamber due to the structure of the burrow or (ii) the burrow is discovered late in the breeding season and, as it was not therefore monitored during the egg-laying period, it is not clear if breeding had been initiated that season. Note that some burrows will be occupied by former breeding pairs that have chosen to take the season off or used by a single bird trying to attract a new partner.
- Prospector: Bird(s) recorded visiting nest, but signs are indicative that these are prospecting and not breeding birds. Examples would be new excavations within a previously inactive burrow, a single visit during the breeding season to a previously inactive burrow, a visit to a burrow where both adults had been confirmed killed the year before, or the preliminary excavation of a burrow-like structure combined with the confirmed presence of a seabird (feathers, guano, etc).
- Inactive: No sign that the burrow has been visited in that breeding season.
- Status unknown: Burrows where there was no way to assess what had happened in the burrow during the year (i.e., burrow found at the end of the season with seabird sign but no indication of what actually happened, or burrow monitored at points during the season but breeding status and outcome unknown).
These outcomes are then used in the creation of reproductive success rates.
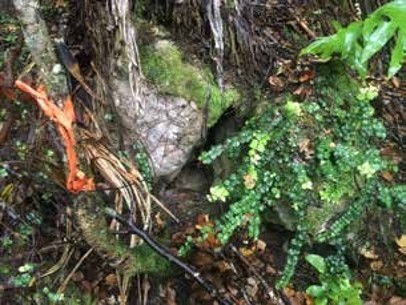
Figure 101. New Zealand Storm-petrel burrow in a crevice between rocks. Photo: Chris Gaskin.
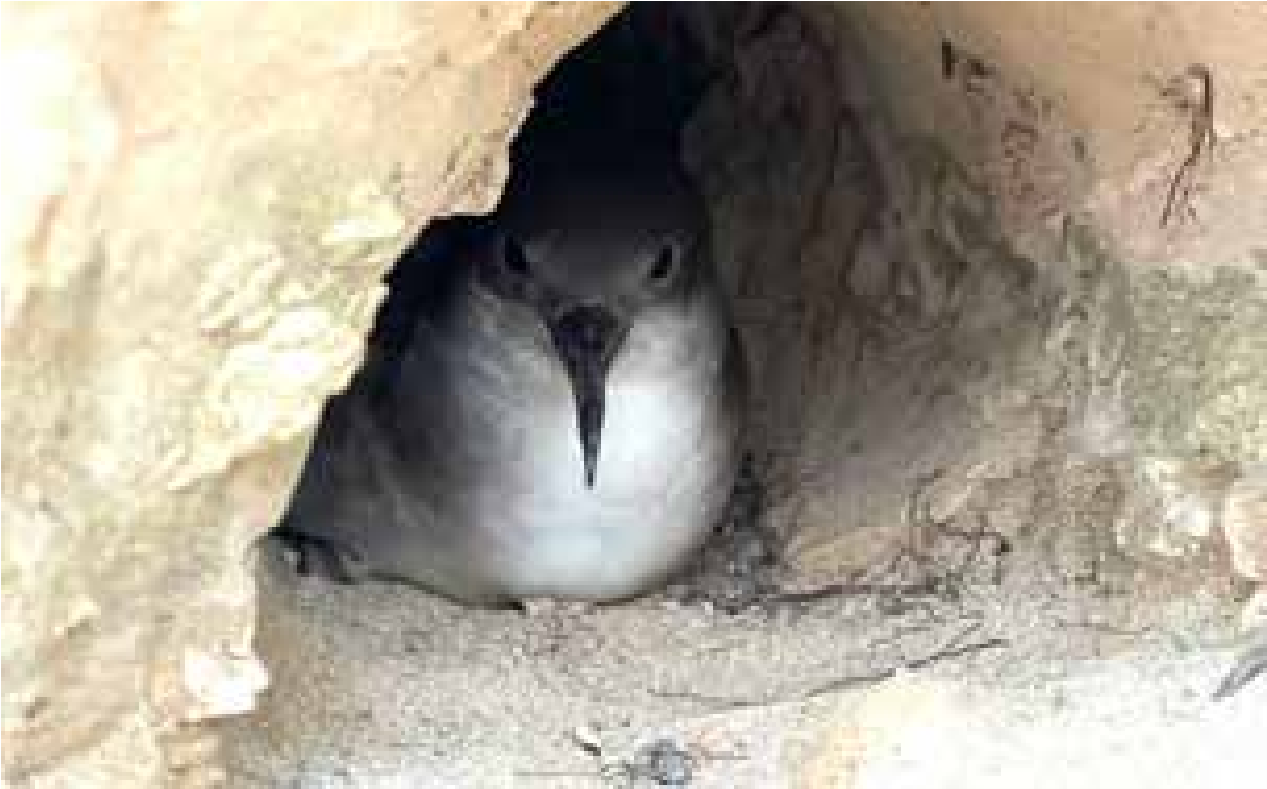
Figure 102. Shallow holes such as this Wedge-tailed Shearwater burrow. Photo: André Raine.

Figure 103. Deep convoluted burrows such as this Tahiti Petrel burrow. Photo: André Raine.
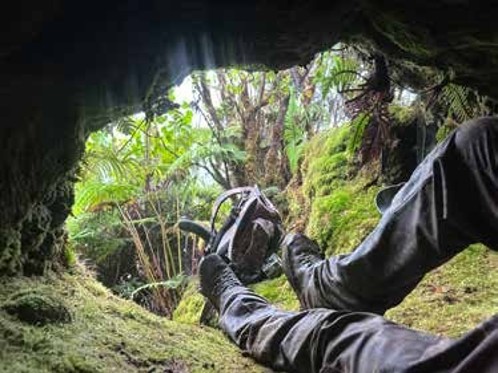
Figure 104. Large caves such as the entrance to a Hawaiian Petrel burrow. The variation shown above presents monitoring challenges. Photo: André Raine.